Are you looking to unleash your creativity and add a personal touch to your fabrics? With DIY block printing, you can create your own unique fabric patterns that stand out from the crowd. This hands-on technique allows you to design and customize textiles with intricate designs and patterns. In this article, we will guide you through how to get started with DIY block printing, selecting the right materials for the job, and exploring different techniques to bring your fabric patterns to life.
How to Get Started with DIY Block Printing
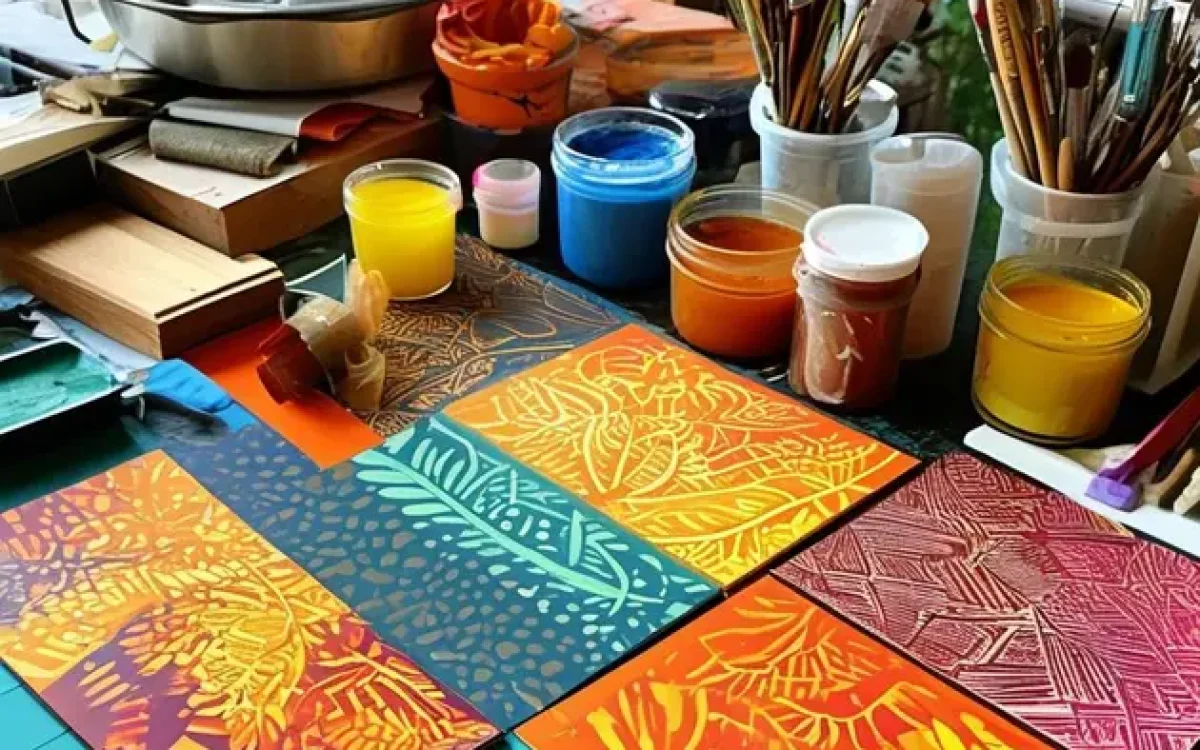
Block printing is a fun and creative way to design your own fabrics and papers. If you’re new to block printing, here are some steps to help you get started:
Gather Your Materials
- Linoleum or rubber carving block
- Carving tools
- Ink roller
- Printing ink
- Brayer
- Plain fabric or paper
Design Your Block
Sketch out your design on the carving block before you start carving. Keep in mind that block printing involves carving away the areas you do not want to print, so your design should be in reverse.
Carve Your Block
Use the carving tools to carefully carve out your design on the block. Start with simple designs if you’re new to block printing.
Ink Your Block
Apply a thin, even layer of printing ink to the block using the ink roller. Make sure the ink covers the raised areas of your design evenly.
Print Your Design
Place your block ink-side down on the fabric or paper. Use a brayer to apply even pressure to the back of the block to transfer the ink onto the material.
Dry and Set the Ink
Allow your printed material to dry completely before using or washing it. Follow the instructions on the ink packaging for setting the ink, usually by heat or air drying.
With these steps, you can start creating your own unique block-printed designs at home. Have fun experimenting with different patterns and colors to create custom textiles and artwork!
Choosing the Right Materials for DIY Block Printing
When it comes to DIY block printing, selecting the right materials is crucial for achieving the best results. Here are some key considerations:
1. Block Printing Tools
- Blocks: Choose blocks made of high-quality materials like linoleum, rubber, or wood.
- Carving Tools: Invest in sharp carving tools for precise and intricate designs.
- Ink: Opt for block printing ink that is specifically designed for the process.
2. Printing Surface
- Fabric: Select fabrics that are suitable for block printing, such as cotton, linen, or silk.
- Paper: If you’re printing on paper, choose a smooth and sturdy paper stock.
3. Additional Materials
- Brayer: A brayer is essential for applying ink evenly to the block.
- Palette: Use a palette to mix and roll out the ink before applying it to the block.
- Protective Gear: Consider wearing gloves and aprons to protect your skin and clothes from ink stains.
By carefully selecting the right materials for your DIY block printing project, you can ensure that your prints turn out beautifully and that the process is enjoyable and rewarding.
Exploring Different Techniques for Fabric Patterns
When it comes to creating unique fabric patterns, there are various techniques that you can explore. Each technique offers a different way to add flair and personality to your fabrics.
1. Tie-Dye
- One of the most popular fabric patterning techniques is tie-dye.
- It involves twisting, folding, or crumpling fabric and then applying dye to create vibrant and colorful patterns.
- Experiment with different folding techniques and color combinations to achieve a variety of designs.
2. Shibori
- Shibori is a Japanese dyeing technique that involves binding, stitching, folding, twisting, or compressing fabric to create unique patterns.
- There are several different shibori techniques, including kanoko shibori (bind and dye), kumo shibori (twist and bind), and itajime shibori (fold and clamp).
- Explore these techniques to create intricate and beautiful patterns on your fabrics.
3. Screen Printing
- Screen printing is a versatile technique that allows you to create detailed and precise patterns on fabric.
- It involves creating a stencil on a screen and then using a squeegee to push ink through the stencil onto the fabric.
- Experiment with different types of screens, inks, and stencils to achieve the desired effect.
By exploring these different techniques for fabric patterns, you can unleash your creativity and create one-of-a-kind designs that truly stand out.

